
Hey girl! Let’s dive into the wonderful world of press-on nails. If you’ve ever dreamed of having salon-quality nails from the comfort of your own home, you’re in the right place! Press-on nails are not just about achieving a beautiful look, they’re also about convenience and adaptability.
Whether you’re a busy mom juggling a hectic schedule, a professional woman on-the-go, or anyone in between, press-on nails offer a quick and easy solution to keep your nails looking polished and perfect on a budget.
I will guide you through the process of creating and applying your own stunning press-on nails. Enjoy this moment of self-care and grab your nail files, your favorite polishes, and let’s get started. 🙂
Supplies you will need for your press on nails: (Explore my top nail essentials by clicking on the product names. Each link leads to my personal favorites.)
- Artificial Nails (full cover)
- Gel Base Coat and Top Coat
- Nail Stands
- UV Gel Polish (any color)
- Nail clippers
- Coarse nail file (preferably 180/100 grit) and Nail Buffer
- Cuticle pusher or orangewood stick
- Nail glue
- Nail Lamp
- Mounting Putty
- Nail Art Design Tools
Remember, patience is key when applying press-on nails. Take your time with each step to ensure the best results. Enjoy your at-home nail salon experience! 😊

Here are the steps to do your own press-on nails at home:
- The first step is to choose the right size of press-on nails for each of your fingers. Hold each nail up to your natural nails to find the right fit. If the press-on nail is too big, file it down to fit your natural nail shape.
- Once you have found the correct press-on nails for each of your fingers. Grab your nail stands and use putty to attach the nail tips. Press down gently so the nails will stick and won’t move.
- Cut the nails to your desired length.
- After, cutting your nail tips (if you prefer) buff the nails tips to remove the shine and dust them off.
- Next, apply a base coat to the nail tips. Apply two thin layers and cure them under a UV lamp.
- Pick your favorite gel nail polish. Apply it using thin coats of polish to ensure smooth application and for your press on nails to cure properly.
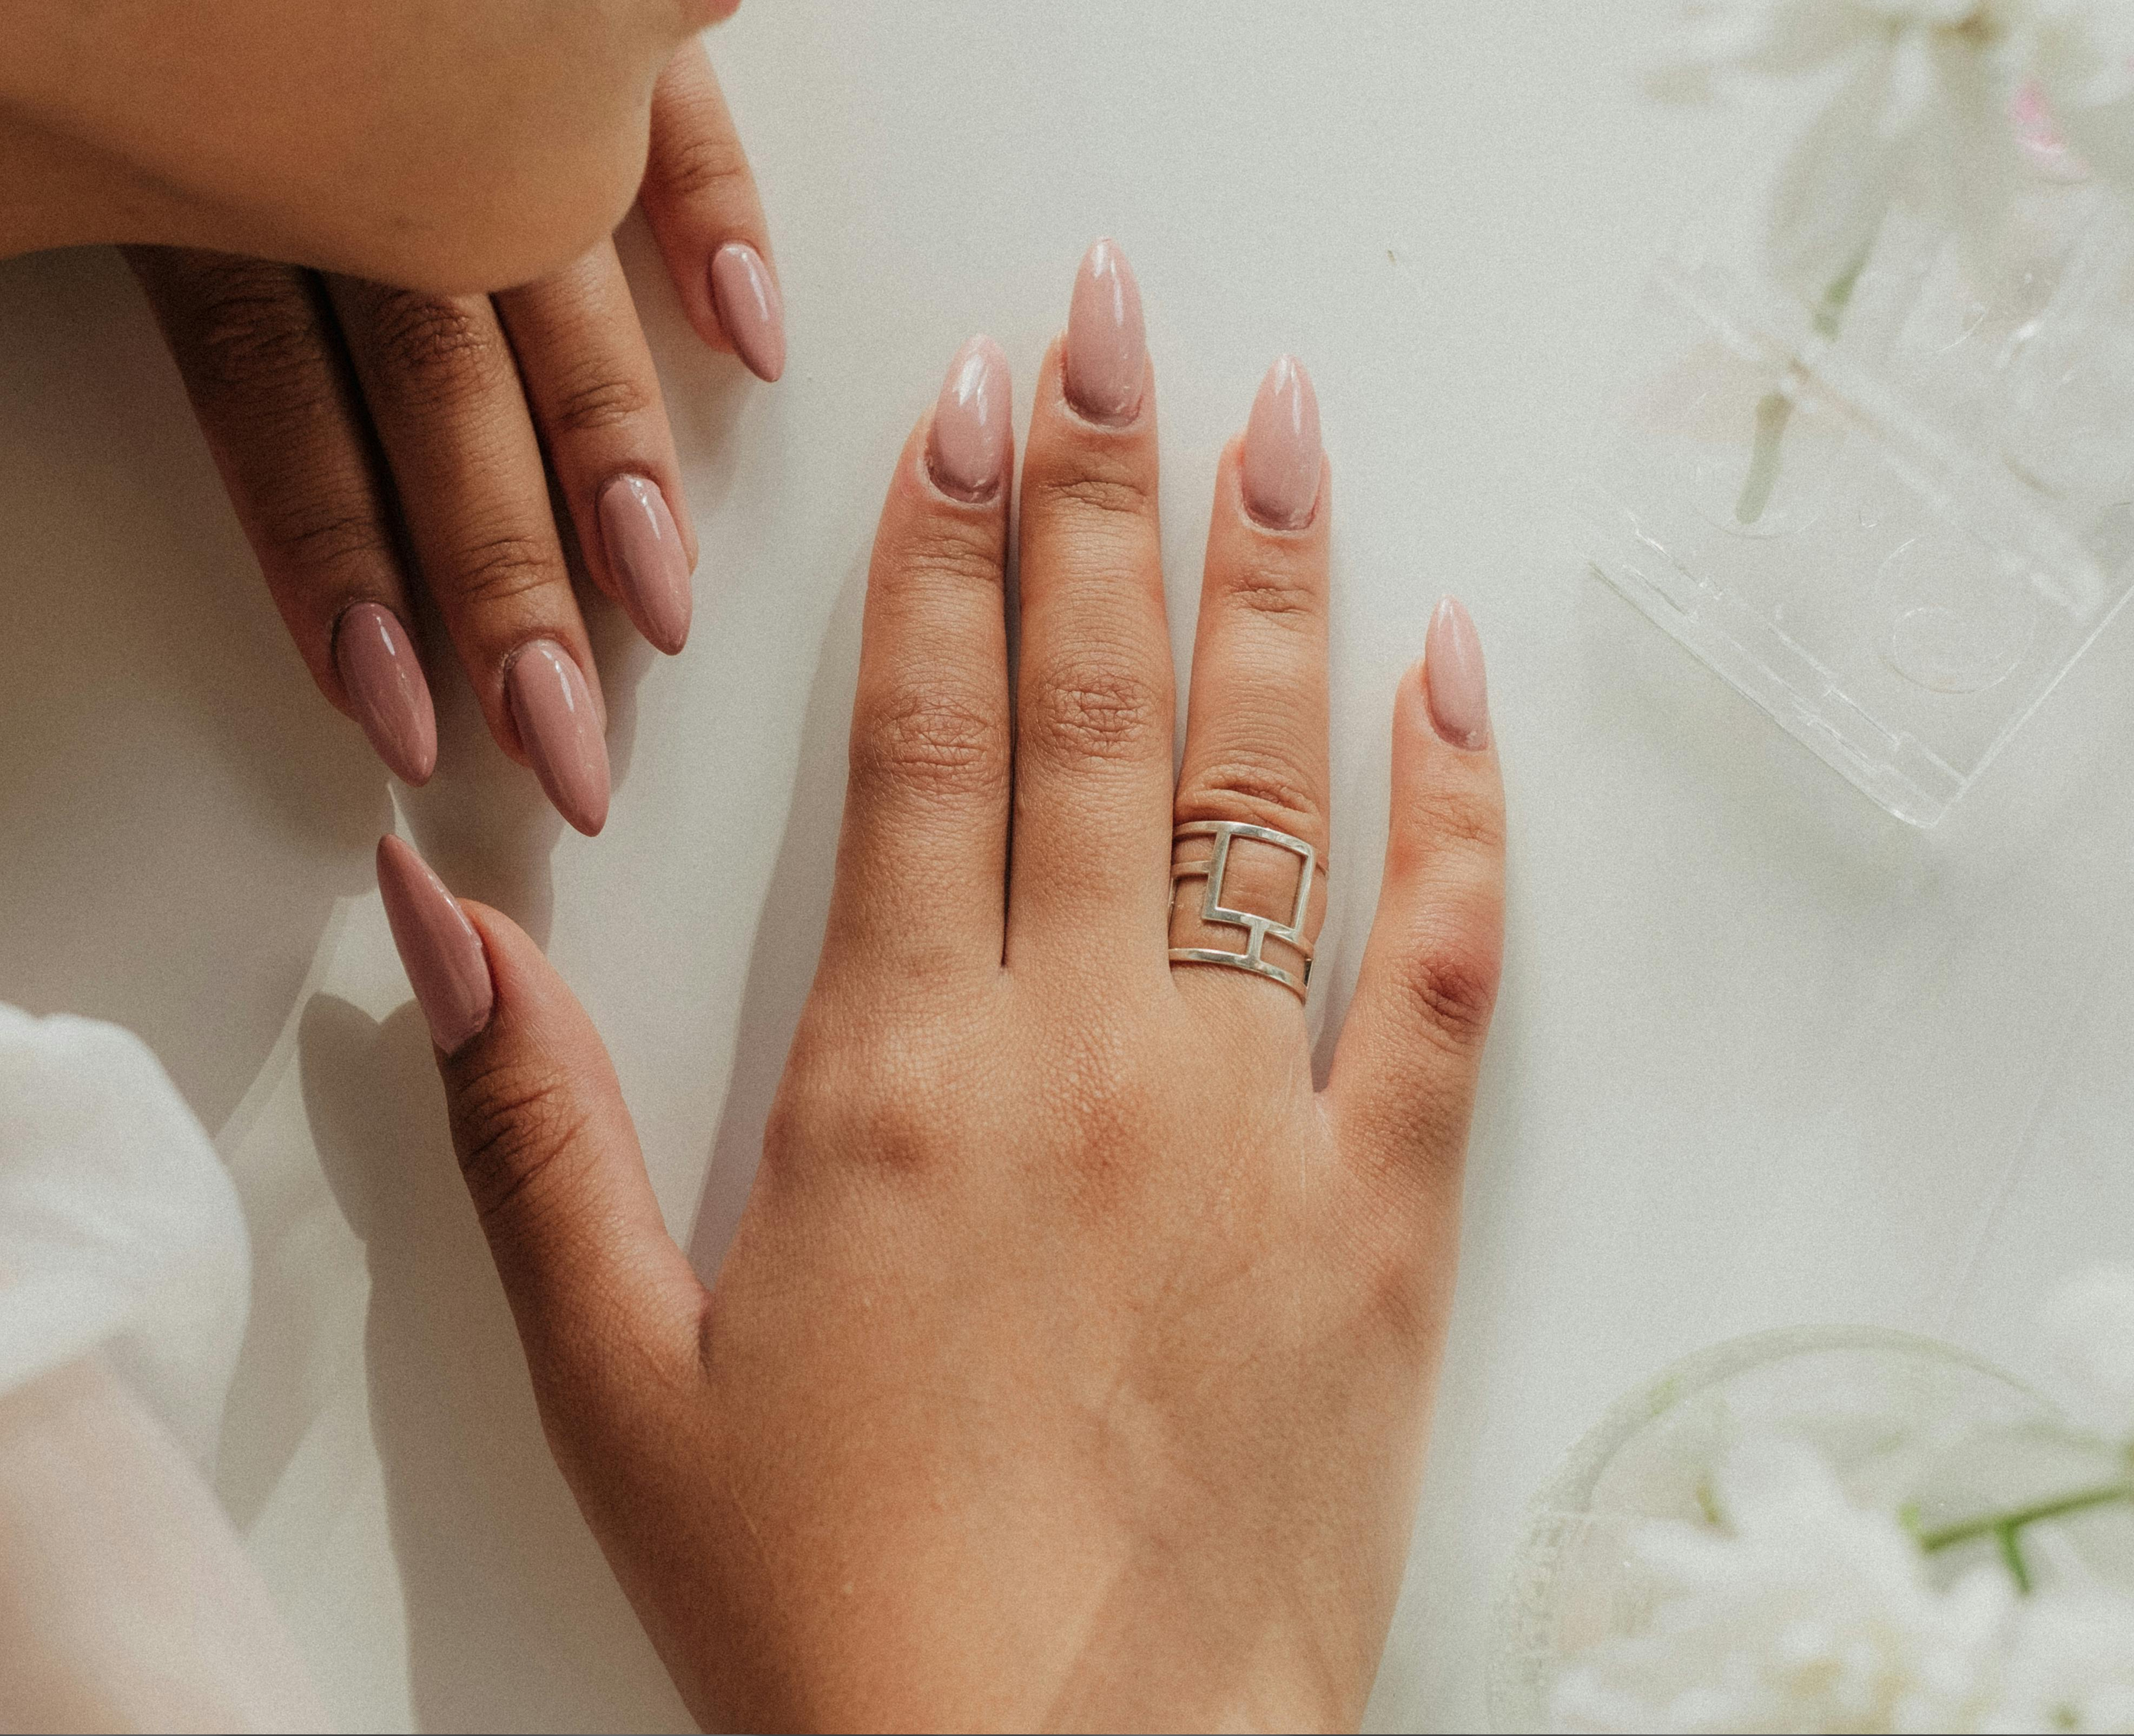
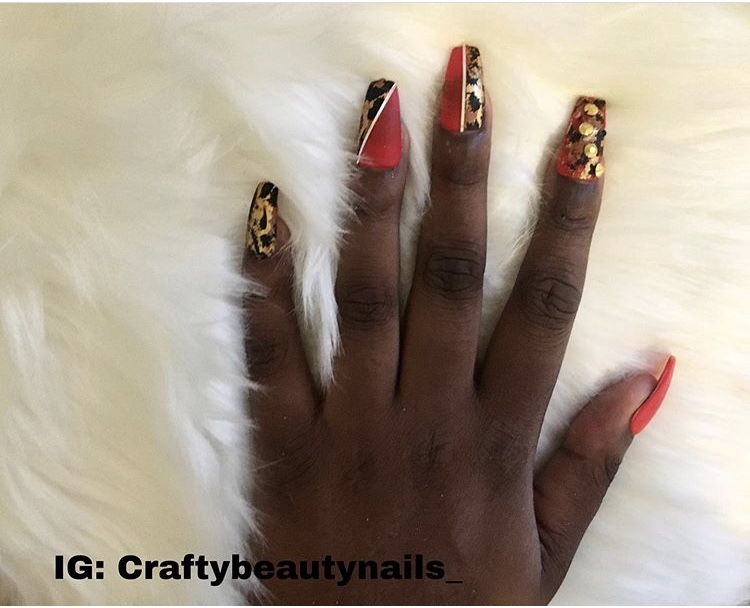
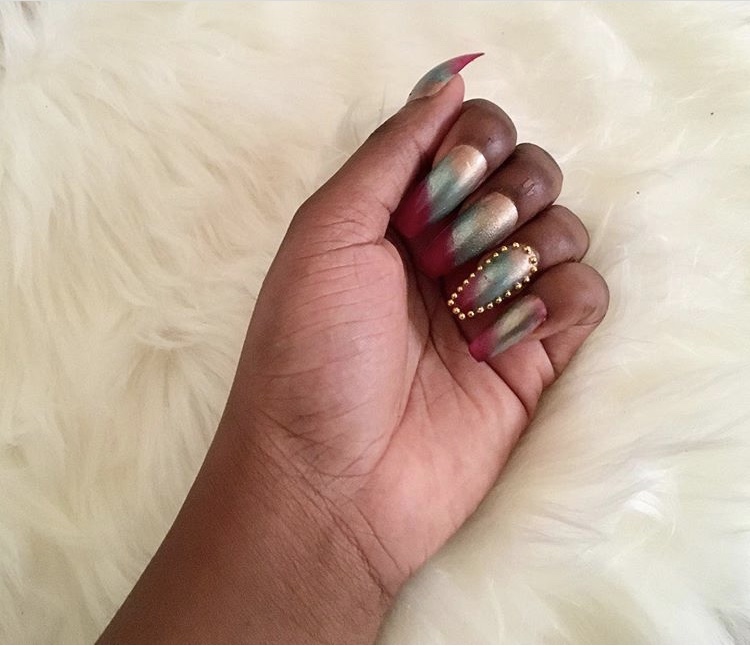
- Once nails have dried/cured you can create nail design art for your press on nails (look below at some beautiful designs I’ve created.) However, if you prefer a simpler look, you can certainly leave the polish as is. It’s all about what makes you feel best!
- After designing your nails to your preference apply topcoat and cure again under UV light. You can apply matte or gloss topcoat. Matte topcoat will give you a non-shiny finish and can make your nail color look more sophisticated. Gloss topcoat gives a shiny finish and can make your nail color pop.
- Now, it is time to apply your press-on nails once they are dry. Prepare your nails by removing old nail polish, dirt, or oils. Trim and shape your nails to your desired length and style. Don’t forget to push back your cuticles with a cuticle pusher.
- For a better adhesion of the press-on nails, gently buff the surface of your natural nails using a nail file to create a slightly rough texture that helps the press-on nails to stick more effectively.
- Apply a small drop of glue to the press-on nails and natural nails. Place the press-on nails onto your natural nails and firmly press down for at least 30 seconds.
- Apply cuticle oil to your nails and you are done 🙂 Now it’s time to enjoy your beautiful press on nails.


This post contains affiliate links, meaning I’ll receive a small commission if you make a purchase through these links, at no extra cost to you

One thought on “How To Apply and Design Great Press On Nails At Home”